***The damage is increased by the amount of players in the circle.
**The damage is increased by the amount of players in the circle.
***100%~1% HP, deals 15.000 damage.
**100%~1% HP, deals 15.000 damage.
***Cooldown: 15 seconds.
**Cooldown: 15 seconds.
**The skill also gives you a debuff called [[File:1st degree burn.png|link=1st-Degree Burn Debuff]]"1st-Degree Burn Debuff" (Receive damage from Fire attribute + 100%, MS -10%, DOT (Damage over time) 300 every 4 seconds, last 5 minutes).
==Best Strategy==
==Best Strategy==
Line 18:
Line 17:
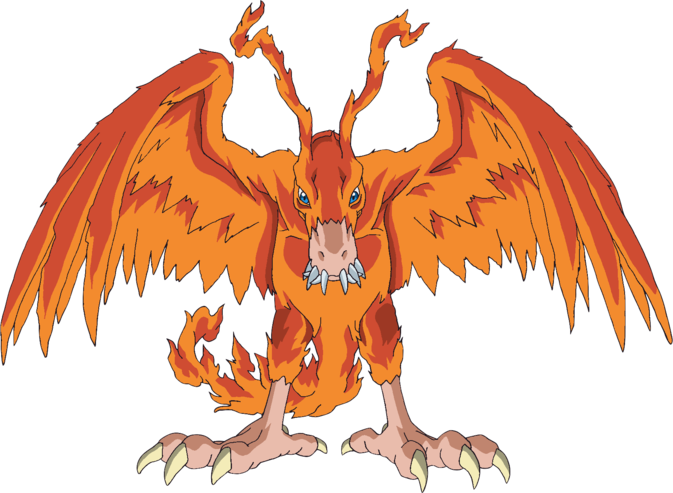
No healer is required here. One tank and two or three attackers is totally enough. The tanker must deal normal and skill damage to the raid, while the hitters will keep a distance and keep using only skills. The raid will target a random player in the party every 15 seconds and the target player must stop hitting/using skills and run as fast as he/she can out of the circle. The skill animation of Birdamon's skill takes around 3~5 seconds to be done, so everyone should have enough time to run out of it.
No healer is required here. One tank and two or three attackers is totally enough. The tanker must deal normal and skill damage to the raid, while the hitters will keep a distance and keep using only skills. The raid will target a random player in the party every 15 seconds and the target player must stop hitting/using skills and run as fast as he/she can out of the circle. The skill animation of Birdamon's skill takes around 3~5 seconds to be done, so everyone should have enough time to run out of it.
[https://youtu.be/V3J2uH2ZSic Video tutorial for Birdramon (Raid)]
==Drops==
==Drops==
Line 23:
Line 24:
{|
{|
|3x||[[File:Evoluter.png]] [[Evoluter]]
|5x||[[File: Miracle Fruit.png]] Miracle Fruit (Tradeable)
The damage is increased by the amount of players in the circle.
100%~1% HP, deals 15.000 damage.
Cooldown: 15 seconds.
The skill also gives you a debuff called "1st-Degree Burn Debuff" (Receive damage from Fire attribute + 100%, MS -10%, DOT (Damage over time) 300 every 4 seconds, last 5 minutes).
Best Strategy
No healer is required here. One tank and two or three attackers is totally enough. The tanker must deal normal and skill damage to the raid, while the hitters will keep a distance and keep using only skills. The raid will target a random player in the party every 15 seconds and the target player must stop hitting/using skills and run as fast as he/she can out of the circle. The skill animation of Birdamon's skill takes around 3~5 seconds to be done, so everyone should have enough time to run out of it.

 "1st-Degree Burn Debuff" (Receive damage from Fire attribute + 100%, MS -10%, DOT (Damage over time) 300 every 4 seconds, last 5 minutes).
 Chest of Flame (Birdramon):
 Miracle Fruit (Tradeable)
 Fruit of the Goddess (Tradeable)
 Attribute EXP Booster [1 Day] (Tradeable)
 Triple-Stacked Cheeseburger
 Jump Booster [All Area] (Tradeable)
 Amazing Digitary Power Stone (+10%)
 Amazing Renewal Increase Stone (+5)
 Flame Feather of Zhuqiaomon
 Glow Feather of Zhuqiaomon
 Ember Feather of Zhuqiaomon
 Crystal [Uprising Flame] [AT] +50% (2 hours)
 Crystal [Uprising Flame] [EXP] +1000% (2 hours)
 Chipset Box [DS] R9
 Ring of Sealed Zhuqiaomon